SSL Tutorial – Exclusive How To Implement Free SSL
This SSL tutorial is not a typical guide you seen elsewhere but is a comprehensive step-by-step actionable process implementing free SSL to your website.
Since there is a free version you can use, why waste money paying for SSL.
First of all, you need to understand the importance of having SSL in your website.
When you browsing through some other sites, you’ll notice they’re either having HTTP or HTTPS.
This implies how the website is transmitting information over the internet.
The Difference Between HTTPS vs HTTP
Websites that are using HTTP protocol are having less secure connection and any information transmitted through the website might be stolen by 3rd party attackers.
This posed a security risk to web visitors especially when they’re entering private information such as their password or billing details.
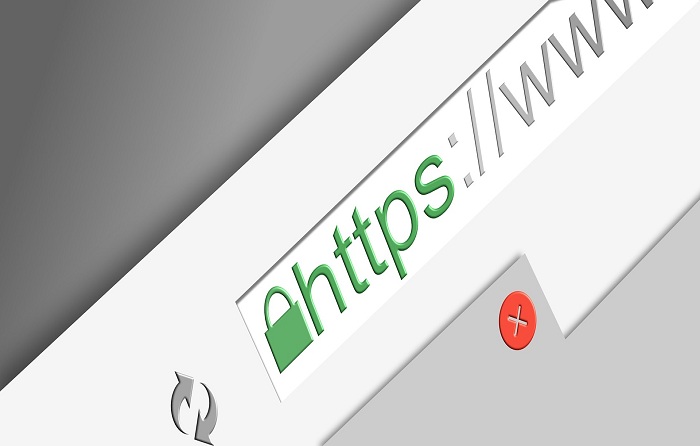
On the other hand, HTTPS protocol is the enhanced version of the HTTP with additional security which is indicated by the extra S.
Websites using HTTPS are having secure connection and the information transmitted are encrypted.
This means it’s harder for attackers to steal important information from HTTPS based website.
So the private information of the web visitors such as their password or billing details would be safe all times.
That’s why it’s very common to see banking websites and large e-commerce marketplaces like Amazon or Ebay are using HTTPS.
Moreover, the latest version Google Chrome browser is going shame those websites NOT using HTTPS protocol by showing “Not Secure” sign to those browsing the site.
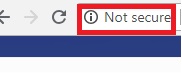
This can frighten away a lot of website visitors.
I believe you have the answer in mind by now which one HTTPS vs HTTP to use for your website.
To transform your website from HTTP to HTTPS, you need to have SSL certificate over your HTTP connection.
This explains what is SSL certificate and how does it work for your website.
If you’re still on the fence because in your perception it is hard to implement SSL HTTPS, I have good news for you.
My SSL tutorial is going to guide you through how to get free SSL and setup it in your website. You can achieve all the steps in 1 hour or less.
Benefits Of Having SSL HTTPS Website
1. Your website visitors or potential customers would feel safe browsing your website and thus stay longer.
2. Bounce rate on your website would reduce.
3. Your website can rank higher in Google search engine – Google prefers websites that are in HTTPS.
4. Reduce the risk of your website being hacked.
5. Your website looks professional and trustworthy.
6. Google Chrome shows your website as “Secure”.
Getting Free SSL
These are the 2 commons options whereby you can implement free SSL to your website:
1. Comodo Free SSL
2. Cloudflare Free SSL
With the option Comodo Free SSL, you can get your free basic SSL version from Comodo website. This option requires you to get the certificate and install it to your web hosting server.
The steps can be overwhelming and any mistakes done can jeopardize your website functionality.
Therefore, it’s more recommended to use Cloudflare Free SSL option instead.
With Cloudflare, you don’t have to mess up your web hosting server and it’s much more simpler to implement SSL to your website.
Not only that, you would also reap the benefits of having added security and CDN functionality from Cloudflare.
Thus, this blog remaining SSL tutorial is going to be based on implementing free SSL using Cloudflare.
SSL Tutorial On Cloudflare SSL Account Setup
1. Use your web browser and go to Cloudflare main homepage. Register for a new account (if you don’t have one). Then login to the account.
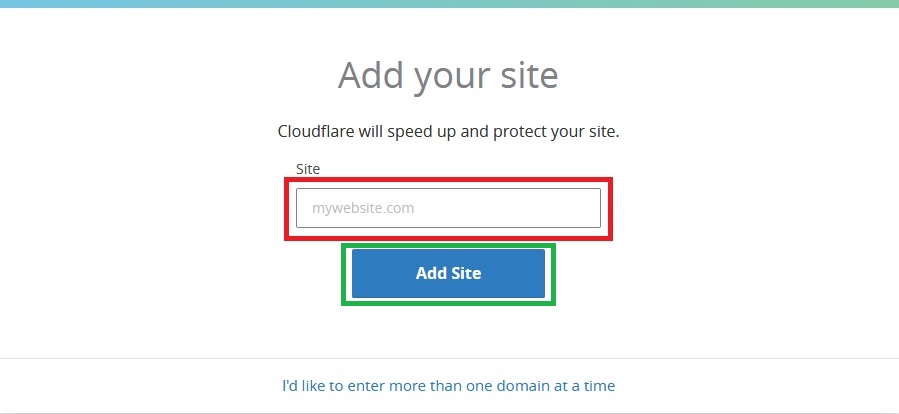
2. Add your site by entering your website domain address and then press the “Add Site” button.
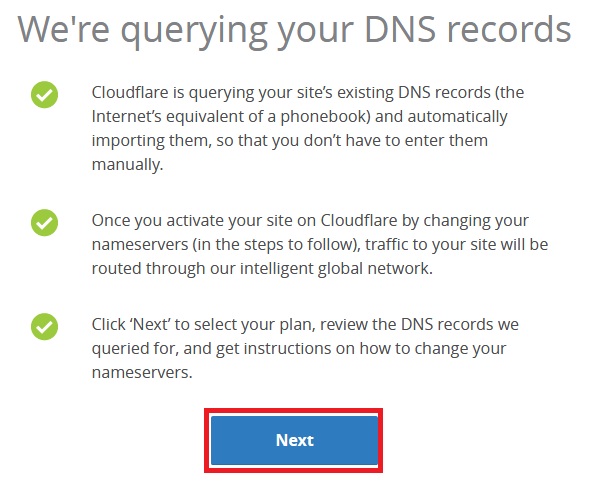
3. Cloudflare will show you the status that it is querying your DNS records. You can proceed by pressing the “Next” button.
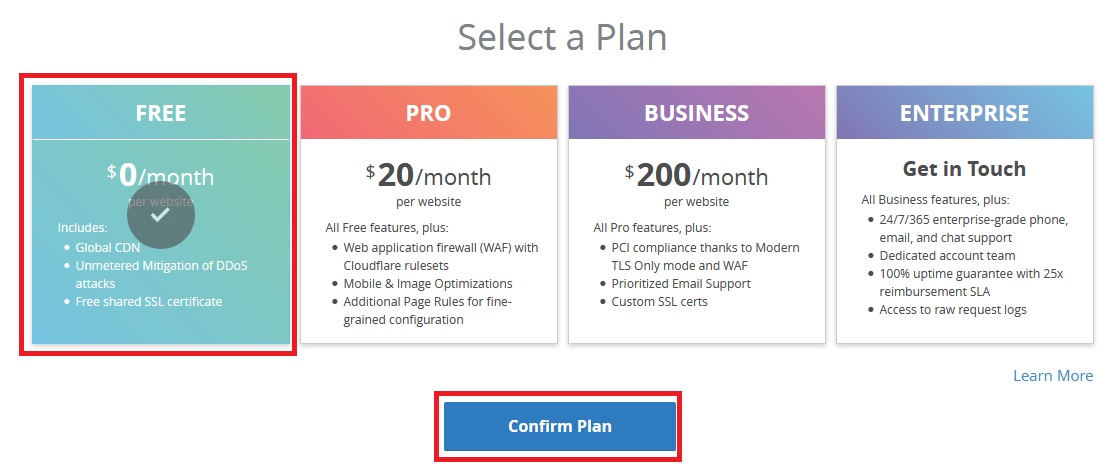
4. Choose the “FREE” plan. It will gives you free SSL which you can use for your website with the instruction given in this SSL tutorial.
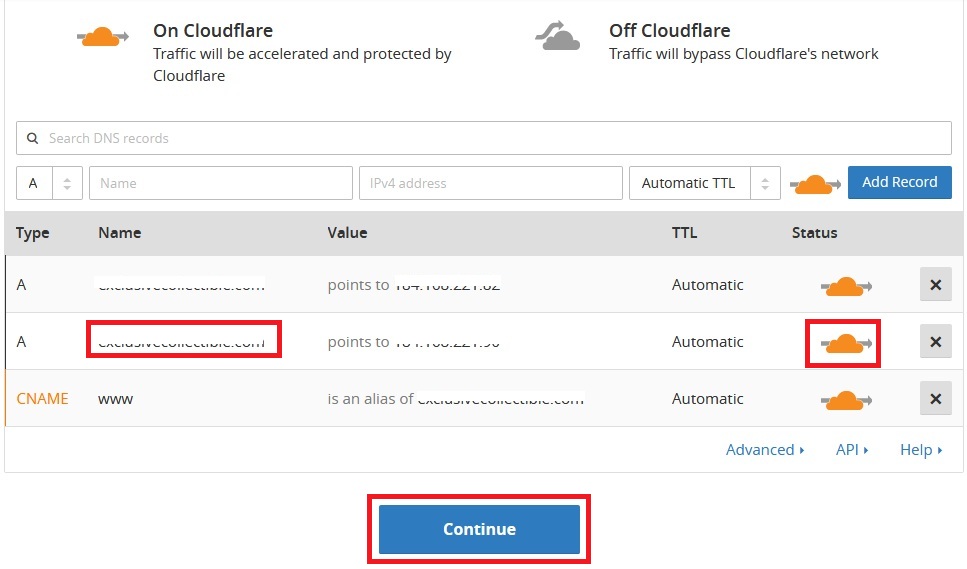
5. Cloudflare is now asking you to verify your DNS records. If you can see orange Cloudflare icon next to your domain name, it means everything is working fine. You can proceed to click “Continue” button.
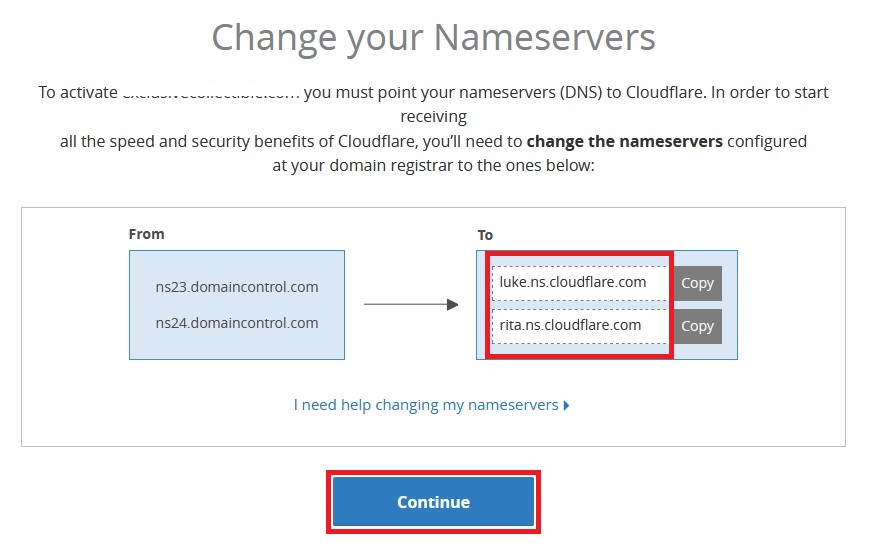
6. Now you need to change your the nameservers at your domain name settings to the 2 new ones provided by Cloudflare. You need to login to your domain name account and change them.
If you’re using either 1 of these 3 domain registrar companies (GoDaddy, HostGator or NameCheap), you may refer to these guide below:
i) Change nameservers in GoDaddy
ii) Change nameservers in HostGator
iii) Change nameservers in NameCheap
But if your domain name registrar is not from above and you not sure the steps to change nameservers, you can search in Google with query “Change Nameservers + Your Domain Name Company” and you’ll see the guide.
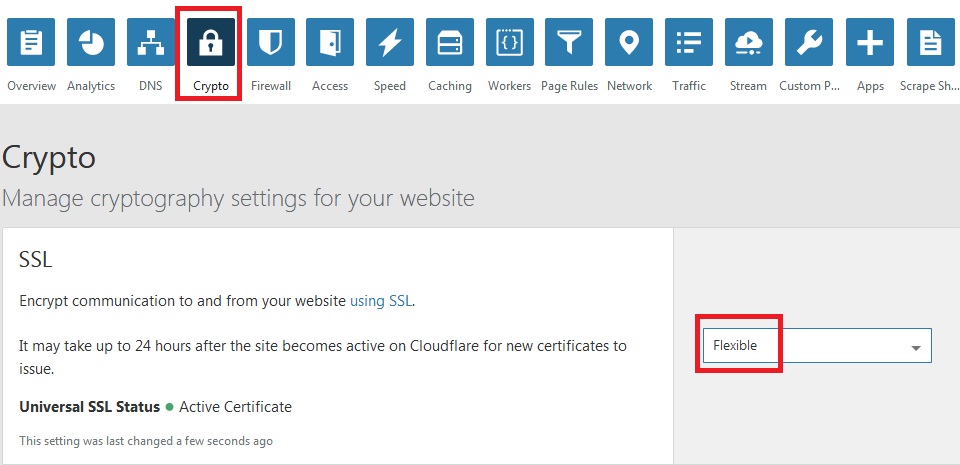
7. Go to “Crypto” in your Cloudflare account. Under “SSL” section, you’ll see few options as below:
i) Flexible
ii) Full
iii) Full (strict)
The Cloudflare SSL Flexible option is the one you should choose if your web hosting does not have any SSL certificate installed (means your website is running in HTTP).
For Cloudflare Full SSL setup and Full (strict), they are only usable if your web hosting already has its own SSL certificate installed.
8. Under “Crypto”, scroll down to “Always Use HTTPS” section, turn “On” the option.

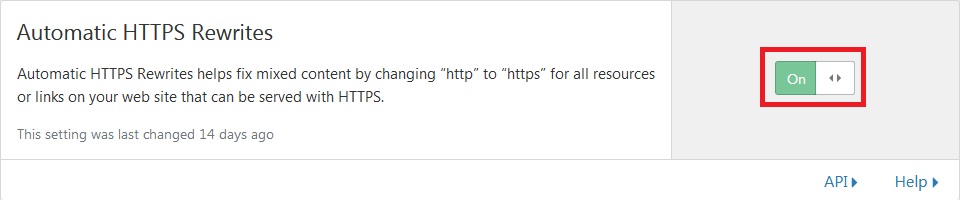
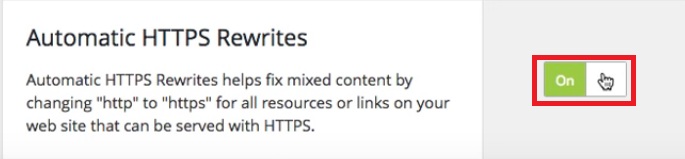
9. Under “Crypto”, scroll further down to “Automatic HTTPS Rewrites” section, turn “On” the option.
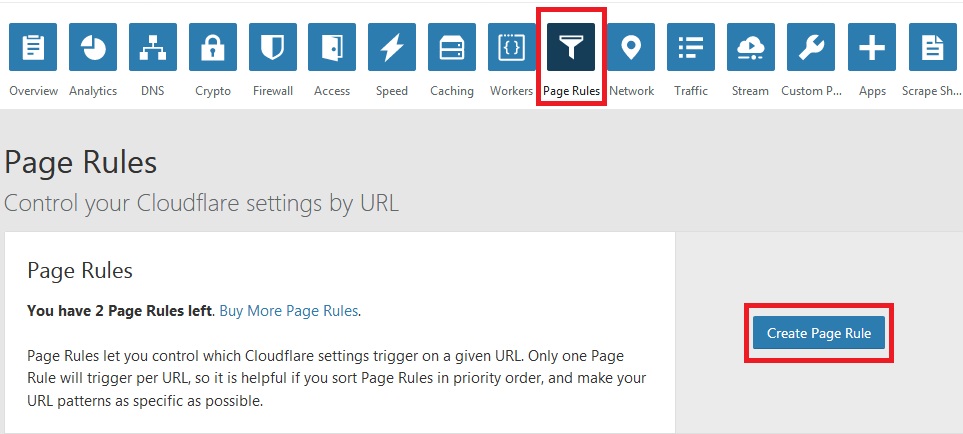
10. Go to “Page Rules”, then “Create Page Rules”.
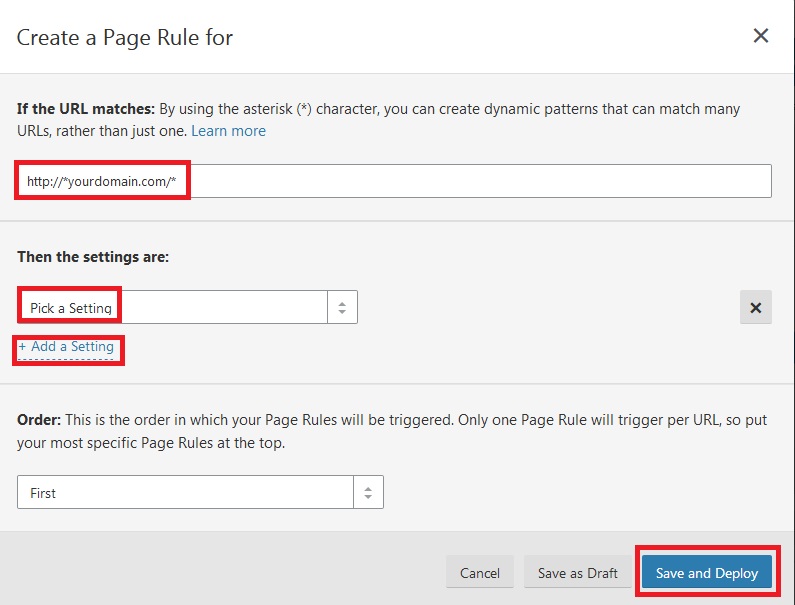
11. For the URL, enter your own domain name with http:// and without www infront, add * in between http:// and your domain, also add /* after your domain.
Click “Add a Setting”. From the “Pick a Setting” dropdown list, choose “Always Use HTTPS”. Then click “Save and Deploy”.
12. Now you’ve completed the setup steps inside Cloudflare account part. You’re good to move on to the last few setup steps inside your WordPress website for syncing the Cloudflare SSL to complete the whole SSL tutorial.
SSL Tutorial On Cloudflare SSL WordPress Setup
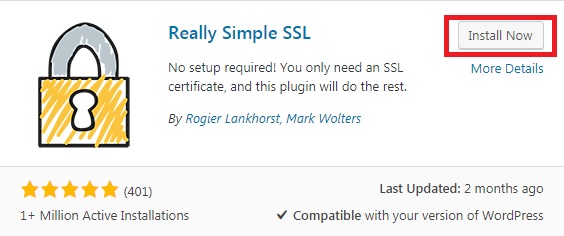
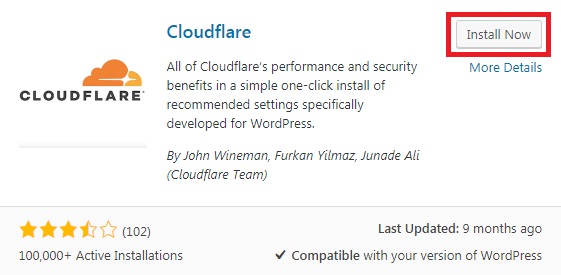
1. Login to your WordPress dashboard. Go to “Plugins”. Search for these 2 plugins and install them into your WordPress:
i) Really Simple SSL
ii) Cloudflare
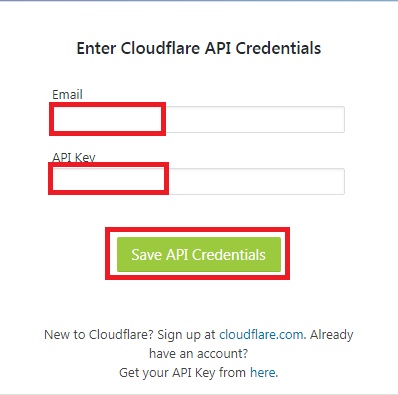
2. From your Plugin lists, go to “Cloudflare”, activate it and proceed to “Settings”. Login to your existing Cloudflare account. Use the “email” same as the one you registered for Cloudflare account.
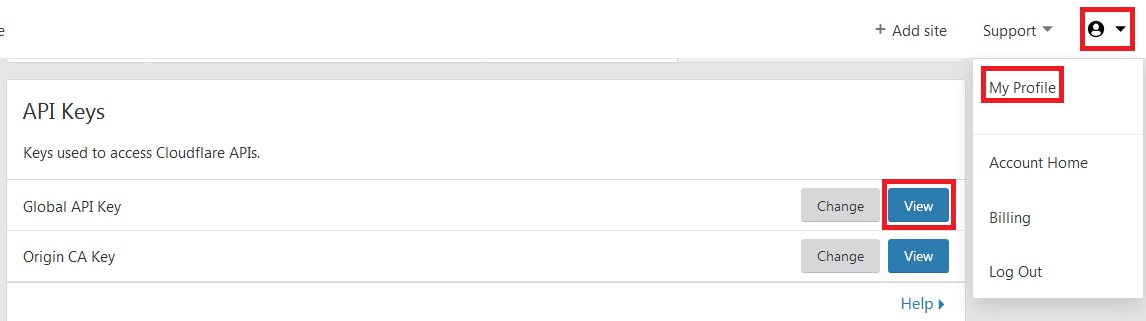
For “API Key”, you can get it from your Cloudflare account.
Go to “My Profile” located at the top right corner menu and scroll down to the bottom of the page. Under “API Keys”, get the “Global API Key” by pressing the “View” button.
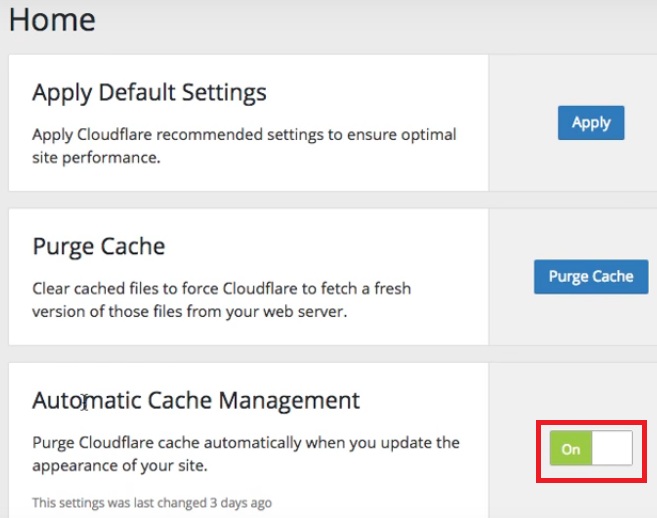
3. After login successfully to Cloudflare plugin, scroll down to “Automatic Cache Management” and turn “On” the option.
4. Move to the “Settings” tab inside the Cloudflare plugin. Scroll down to “Automatic HTTPS Rewrites”, turn “On” the option.
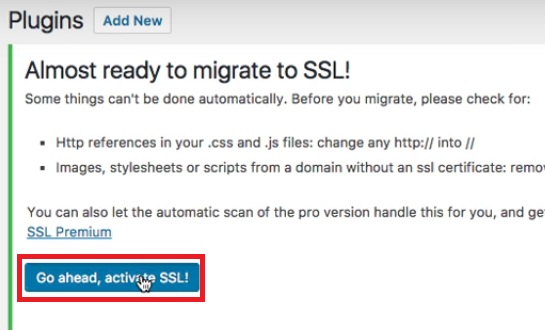
5. Now go to your WordPress Plugins list, on the “Really Simple SSL”, press “activate”.
At the top of the page, there will be a message says “Almost ready to migrate to SSL”, proceed to choose “Go ahead, activate SSL!”
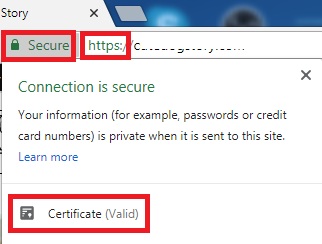
6. Now you should see that your website is updated from http to https when accessing it from your web browser and also has the “Secure” sign besides your domain name if you use Google Chrome.
7. Congratulations! You’ve completed all the steps outline in this exclusive SSL tutorial and your website is now HTTPS compliant.
Important Note:
If your Cloudflare account is less than 24 hours old, your Cloudflare free SSL might not ready yet and you’ll get SSL Certificate Error and you might encounter problem accessing your site.
If this happens, you can temporary deactivate your Really Simple SSL Plugin and pause Cloudflare functionality while waiting for the SSL certificate to be issued by Cloudflare.
For SSL certificate that is successfully issued by Cloudflare, you’ll see “Active Certificate” status at SSL under Cryto tab in your Cloudflare account.

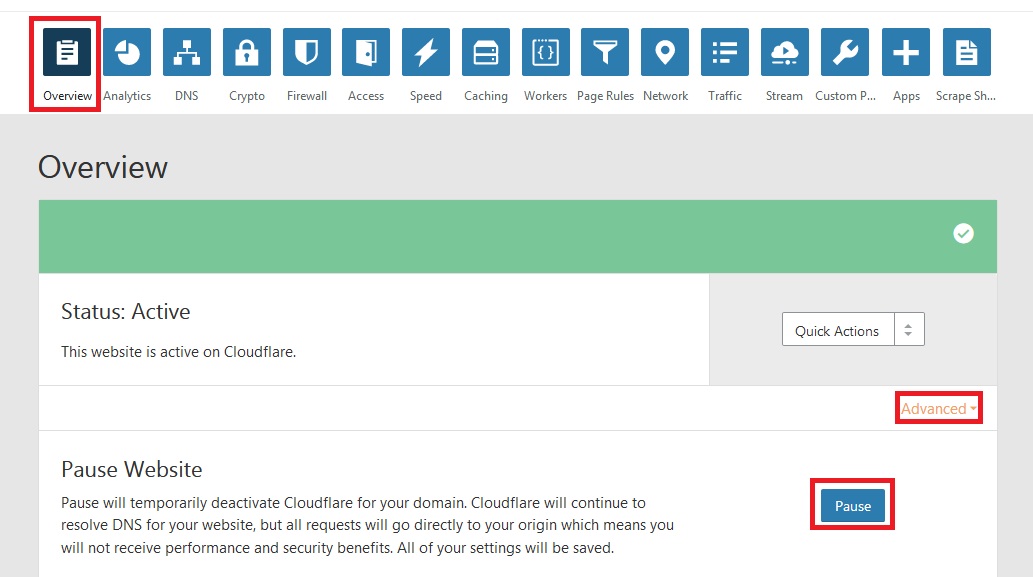
To temporary pause your Cloudflare functionality, login to your Cloudflare account using web browser and then go to Overview -> Advanced -> Press “Pause” button.
After you see that the status of the SSL certificate in your Cloudflare is active, you need to activate back both your “Really Simple SSL” plugin and Cloudflare functionality.
Conclusions
We’ve going through all the processes in the SSL tutorial to transform your website from HTTP to HTTPS with a free SSL certificate from Cloudflare.
There should not be no more excuses for you to maintain website in unsecured HTTP variant.
The benefits outweigh the little time required to get the things done.
It’s time to utilize what you’ve seen and learnt in this SSL tutorial to make your website secured and trustworthy.
If you find this post is helpful, feel free to share it so that more people can benefits from it also. Also, please leave comments below if you have any thoughts.

Superb blog! Do you have any tips and hints for aspiring writers? I’m hoping to start my own blog soon but I’m a little lost on everything. Would you suggest starting with a free platform like WordPress or go for a paid option? There are so many choices out there that I’m completely confused .. Any tips? Many thanks!
Thanks for your kind comment:) To start a blog, you should get yourself a paid website hosting (that comes with Cpanel), website domain name and then install WordPress on it (given to you as free by most hosting companies), then go ahead install nice themes for your blog site and install important plugins such as Yoast SEO, W3 Total Cache, Google Analytics, Really Simple SSL. You can add more plugins later as needed. Next you should spend some time designing your site and then only start your blogging journey. Hope this gives you some insight…