How To Create A Branded Email Address With A Website Domain?

Using an email address branded with your own website domain is important especially when you’re running email marketing.
This is to ensure a high deliverability rate of email sent to your recipient through email marketing software like Aweber and Getresponse.
Deliverability means the email sent would reach your recipients’ mailbox instead of spam folder.
Apart from that, another good reason of using your branded email address is it inspires trust. Your email recipients would have trusted the email address having your website domain more than your personal email; ended up like gmail.com, hotmail.com, live.com and so on.
So you should start now to create your branded email address if you still have no one yet.
Below are the steps on how to create a branded email address from your own website domain…
1) Login To CPanel Of Your Web Hosting
If you’re using web hosting from company like HostGator, you’ll have your CPanel account with the login details.
CPanel is graphical intuitive control panel for your web hosting. Here you can easily configure a lot of things related to the web server you’re using by just clicking the mouse.
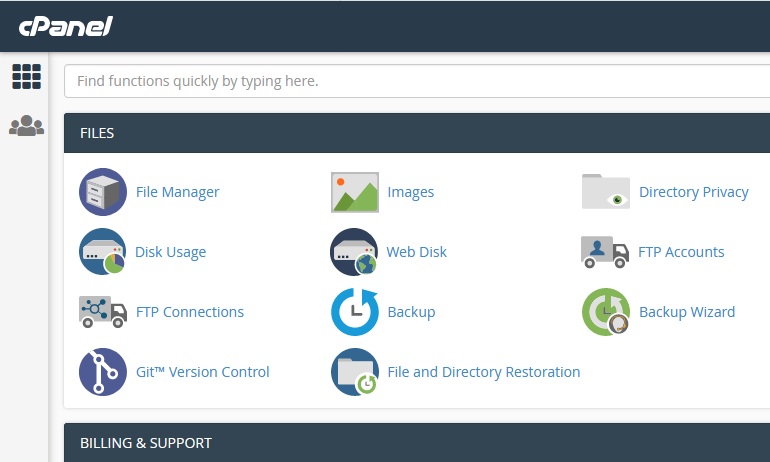
But, today you only need to configure one thing which is the email part.
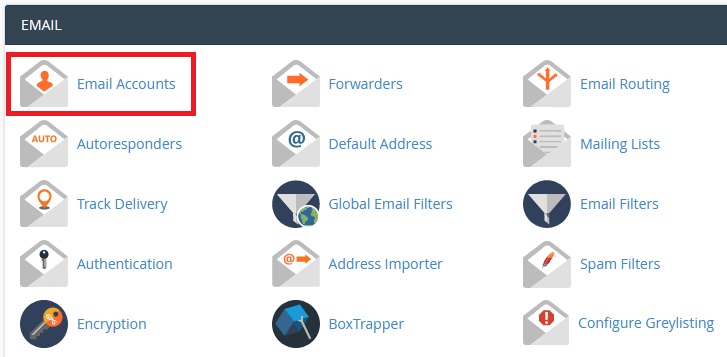
Inside of your CPanel, scroll down until you see the “email” section. Then click on the “Email Accounts” option.
2) Create Your Email Address
Go to “Add Email Account” tab. Here you’ll see a lot of empty spaces that required you to fill up with relevant information.
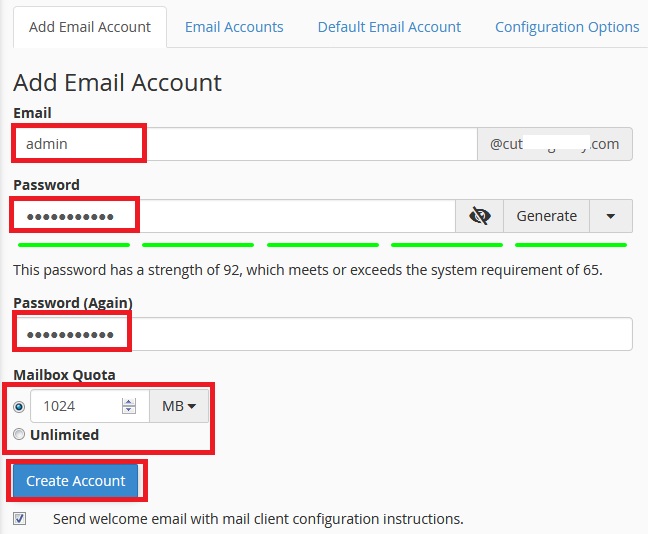
The email part you need to put the name you want that appears right before your web domain extension (@yourdomainname.com).
Password you can enter your own desired password or use the auto-generate password function to create one automatically for you.
Mailbox quota defines what is the max size your mailbox for the email address you create can store emails. You can set a value or use unlimited depending on your needs to receive email.
After all the required things have been set, click the “Create Account” button at the bottom.
Voila! You’ve just successfully created your branded email with your web domain name.

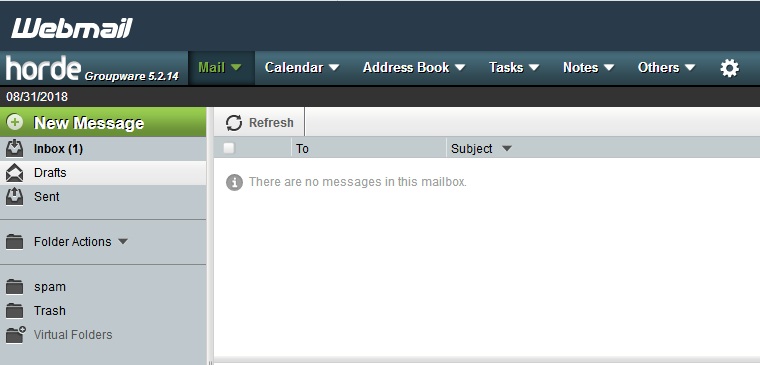
3) Verify The Email Address Is Working
Go to “Email Accounts” tab. Choose the “Access Webmail” option under Actions for the email address that you’ve created.
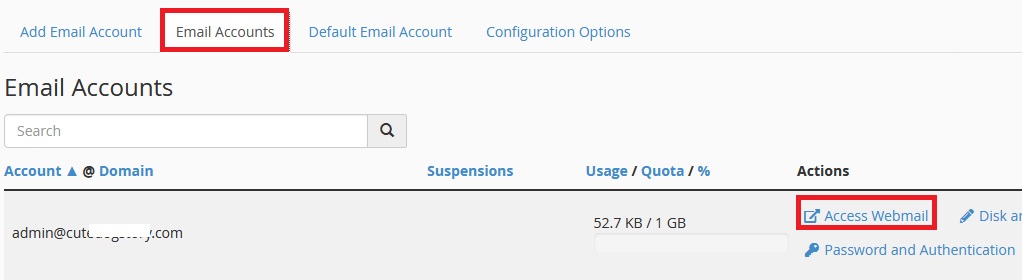
You’ll now enter into your email address dashboard.
Here, you’ll see something familiar to your other personal email dashboard (like Gmail, Outlook, Yahoo Mail).
Inside, you can see all the emails that sent to that address and also can create an email to send out.
You want to test 2 things with your newly created email address:
- Ability to send out email message
- Ability to receive email message
Create a test email and send to your another email account you’re having and check if the message can be sent successfully.
Next, use another email account to send a test email to this branded domain email address and check if you receive the message successfully.
If both tests passed, congratulations!!! You’re good to use this email for sending and receiving emails.
It is also possible using your regular Gmail account to read and send emails from your website domain email address. You can check out the blog post I’ve created to teach you on how you to implement the steps.
If you enjoyed this post, please let me know in the comments below.